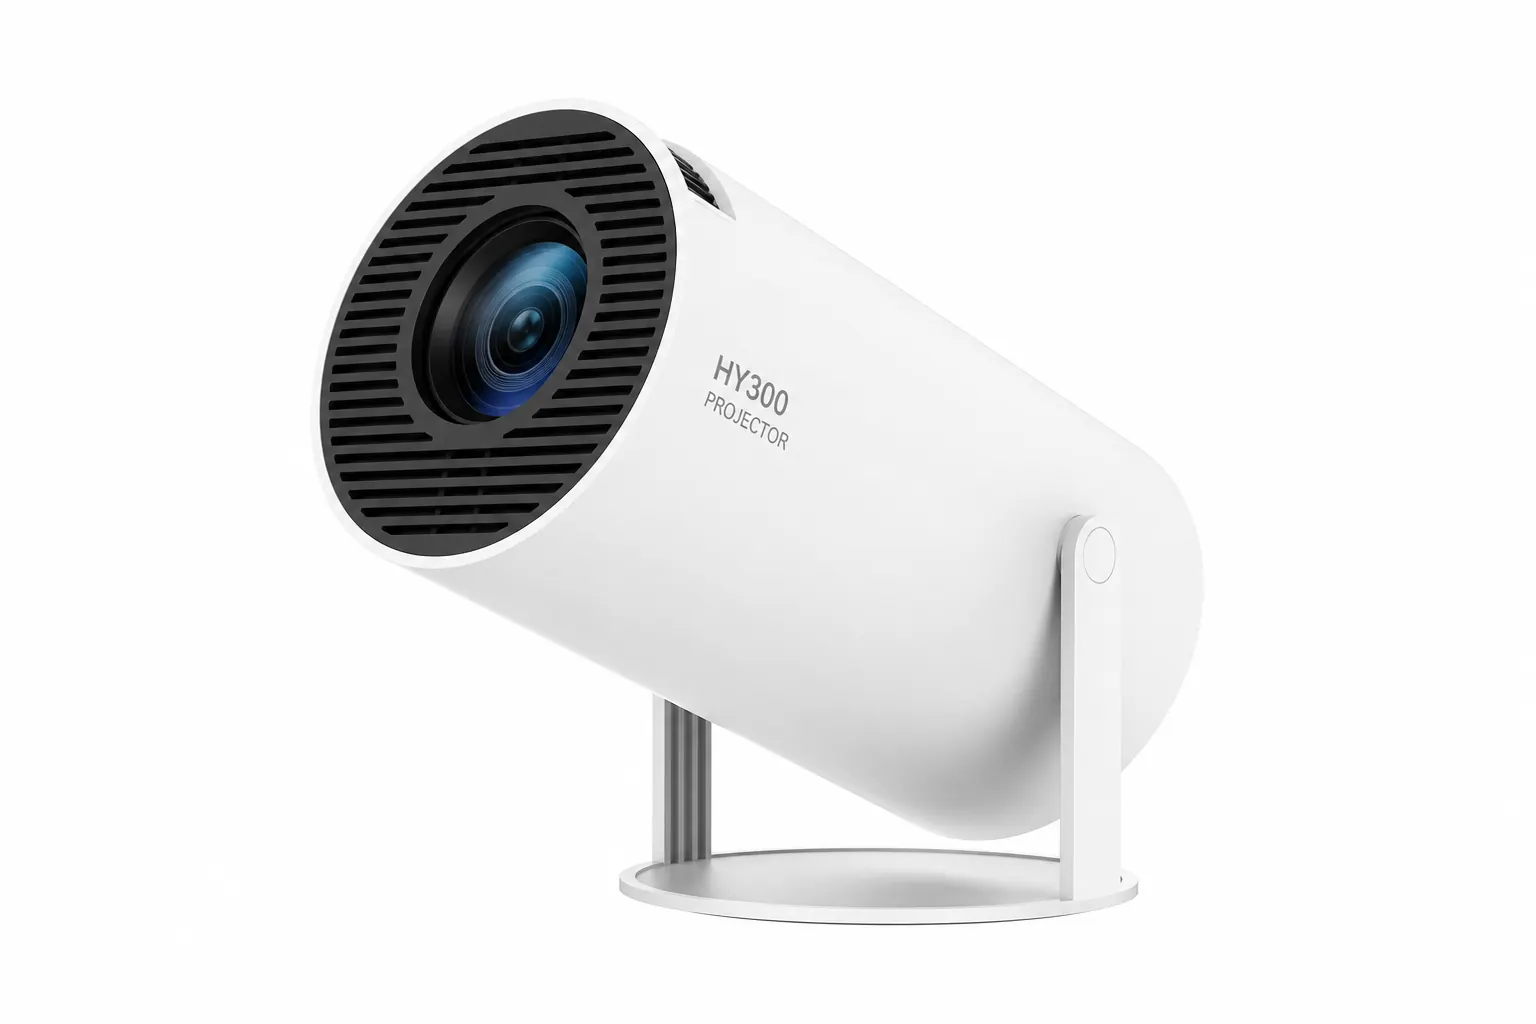

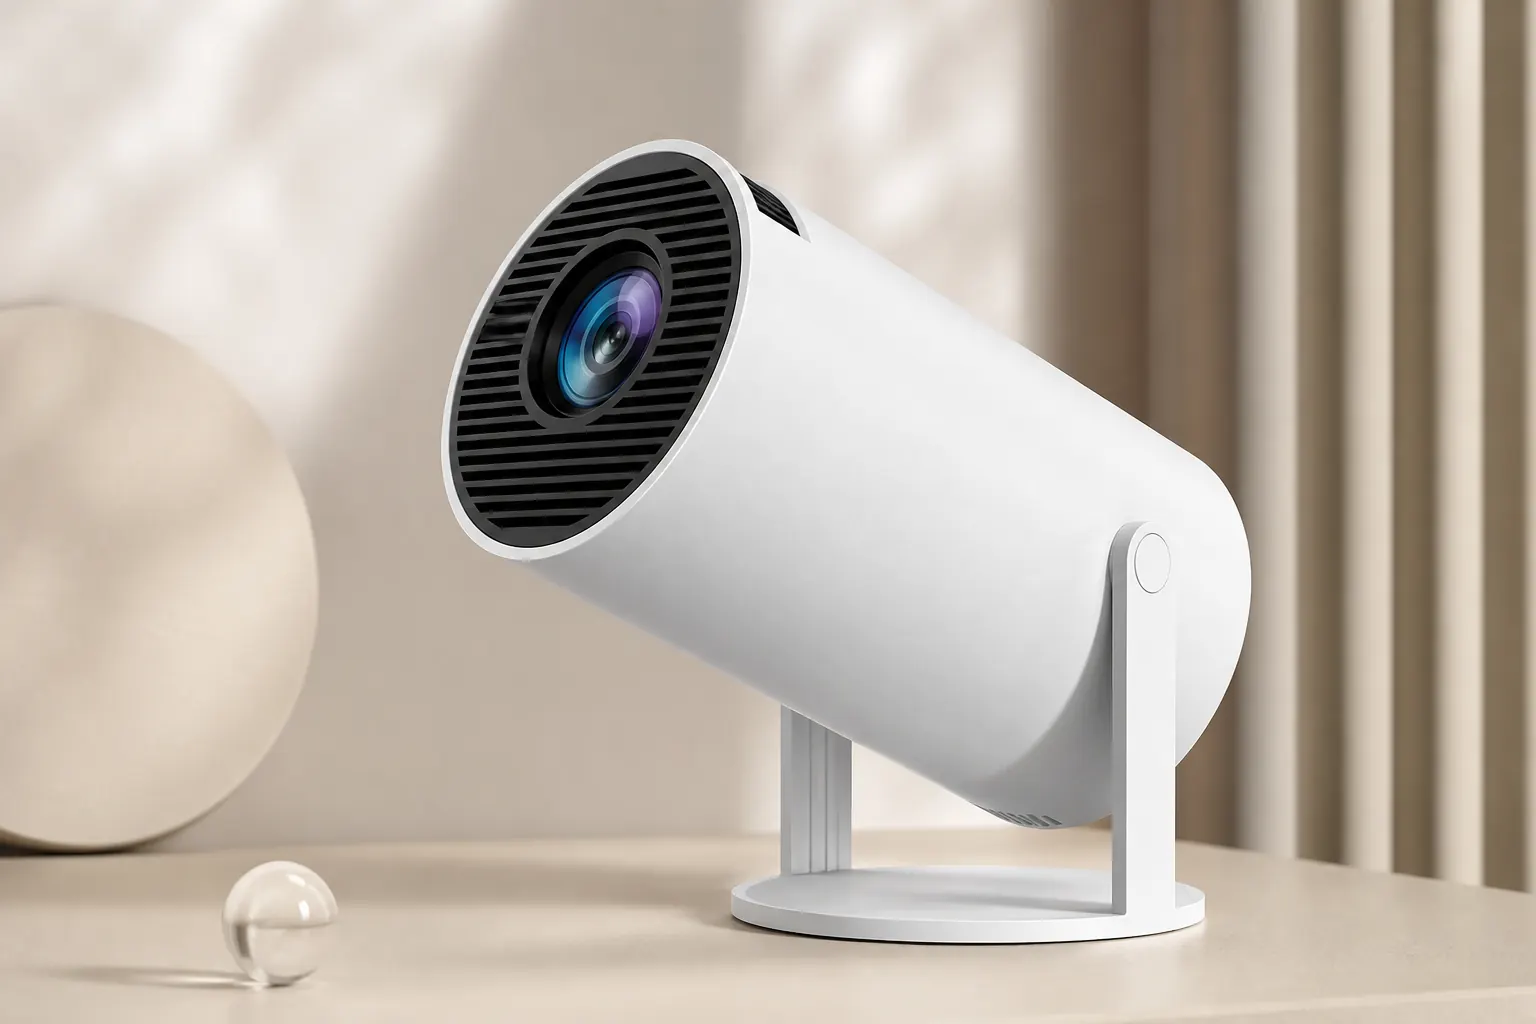
A trapezoid on the wall ruins movie night faster than low brightness. The HY300 Projector addresses this with automatic keystone correction, a manual focus ring, and a 180-degree stand that lets you point at walls or ceilings without rebuilding your furniture layout. Understanding how these tools interact saves frustration and keeps native 720p looking its best.
Start with our specifications page for hardware context. Use the companion app when the physical remote is out of line-of-sight, and read owner reviews for ceiling-setup tips from real bedrooms.
Auto keystone basics
Auto keystone detects when the projector sits off-axis and digitally adjusts the image to form a rectangle. On the HY300, this runs at power-on and when you significantly change the stand angle. It corrects vertical and horizontal skew within a moderate range — enough for nightstand placement, shelf offsets, and ceiling tilt via the rotating stand.
Keystone is a convenience feature, not a substitute for centering. Extreme side angles reduce effective resolution at corners because the projector scales pixels unevenly. For the sharpest image, place the HY300 as close to perpendicular to the screen as your room allows, then let auto keystone handle small corrections.
Manual focus control
The HY300 uses a physical focus wheel on the lens barrel — roll it until fine text looks crisp. Auto keystone does not replace focus; it only shapes the frame. Always set focus after positioning and keystone, because changing throw distance shifts the focal plane.
For presentations with small fonts, zoom your laptop to 125% before casting. Streaming content is more forgiving. If edges look soft while the center is sharp, you may be too close or too far for the lens sweet spot — move the unit and refocus. The Ultra variant's improved coating tightens edge performance on larger throws.
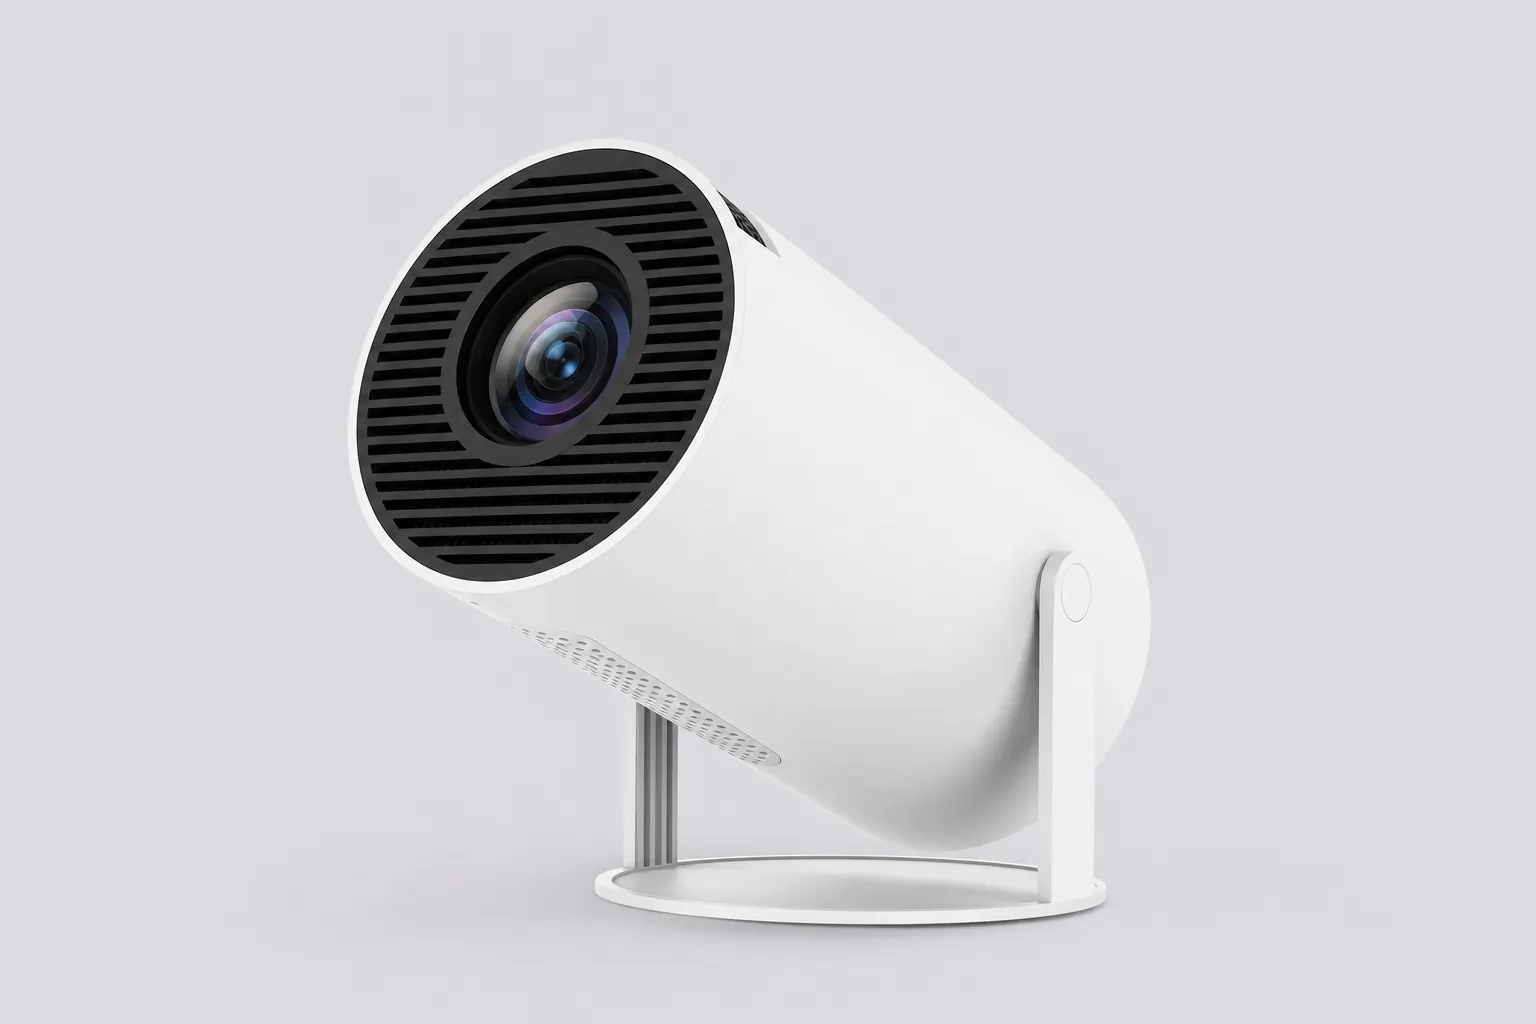
Rotating stand angles
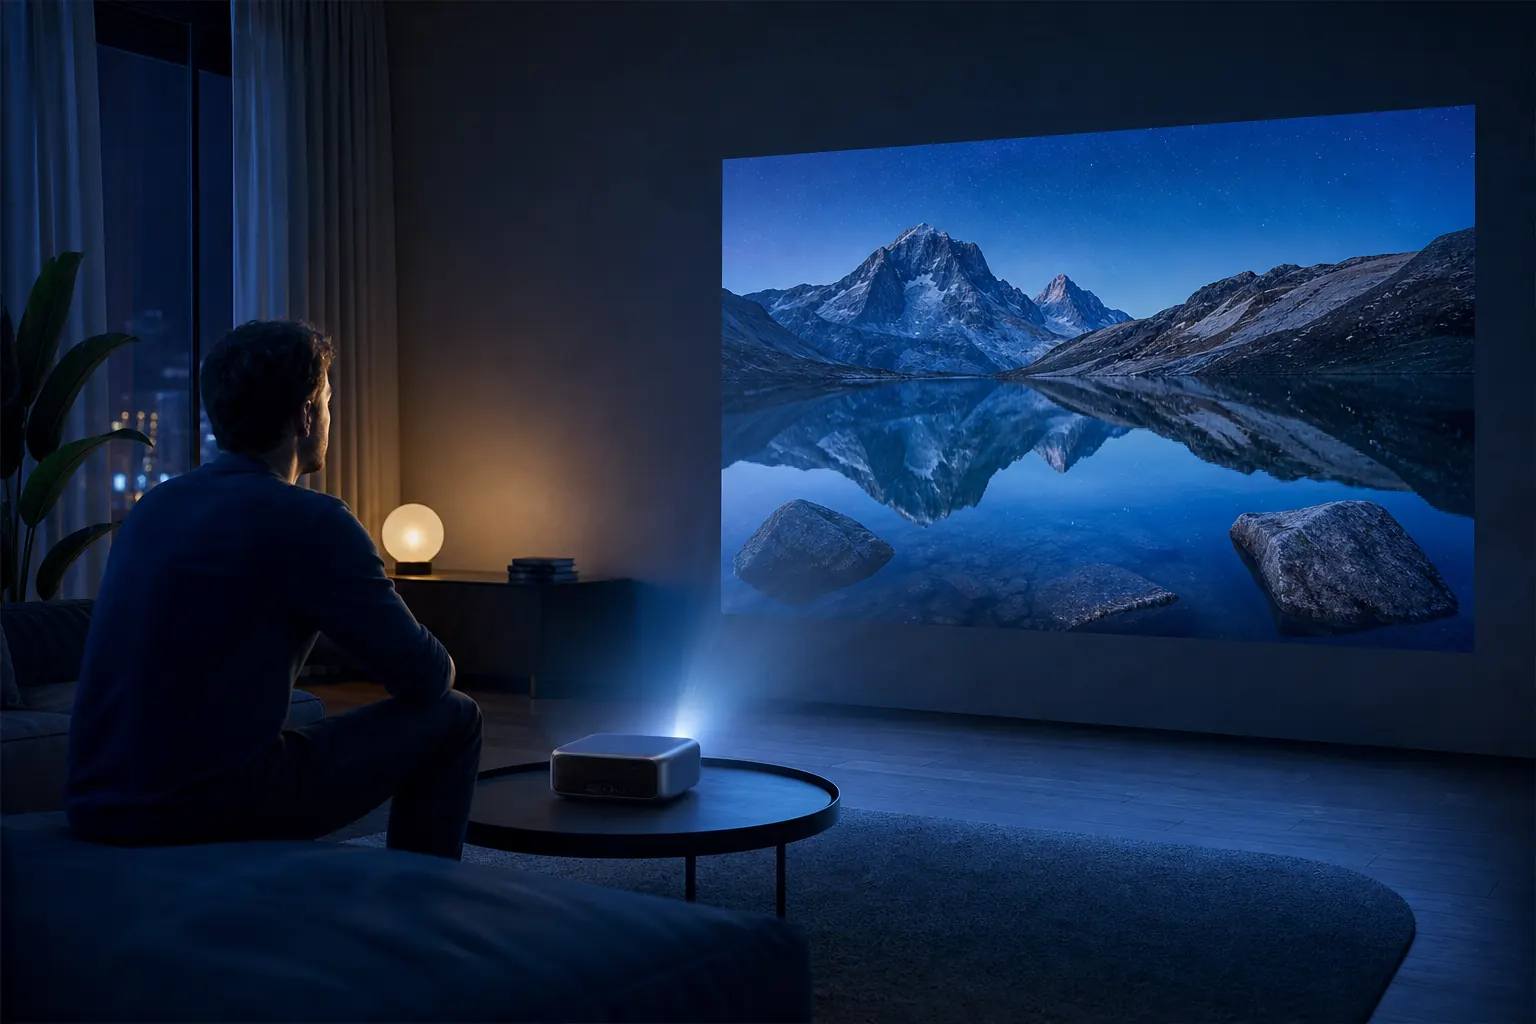
The 180-degree integrated stand is the HY300's defining hardware feature. Tilt from tabletop forward projection to upward ceiling casting. Lock the hinge at your angle, power on, and wait for keystone to settle. Ceiling viewing is popular for bedtime streaming — the stand eliminates tripod setup.
When tilting upward, confirm the image clears light fixtures and fan blades. Heat vents on the chassis need airflow — do not block them against a ceiling corner. The stand handles moderate tilt; for permanent overhead mounting, a ceiling bracket provides cleaner cable routing.
Android picture settings
Beyond hardware correction, Android exposes picture mode settings — brightness, contrast, color temperature, and sharpness. Access them through Settings or the projector-specific menu depending on firmware. Standard mode suits most films; Movie or Cinema presets warm skin tones if your unit includes them.
Avoid maxing sharpness — it introduces halos on budget panels. Reduce blue light in evening hours for comfort. Firmware updates occasionally add new presets; check our firmware guide after updating. Reset to defaults if colors look wrong after experimentation.
Ceiling projection workflow
For ceiling viewing: place the HY300 on a stable nightstand or low shelf, tilt the stand upward, and aim at the ceiling above your bed. Power on, let auto keystone square the frame, then roll focus until stars in the opening credits look point-like. Pair a Bluetooth speaker on the nightstand for directional audio.
Reverse the image orientation if text appears mirrored — some firmware builds offer a ceiling mode toggle under display settings. If not, rotate the source app or use a third-party rotation utility. Owners report five-minute setup once they learn their room's ideal angle.
Wireless casting alignment
AirPlay and Miracast mirror phone and laptop screens without HDMI cables. Casting does not bypass keystone — the projected rectangle still follows the HY300's correction settings. Latency is acceptable for video but noticeable for gaming; wired HDMI is better for fast-response games.
When casting, set your phone to landscape for full-screen video. Portrait mode leaves pillarboxing that keystone cannot fix. Ensure both devices share the same Wi-Fi band for stable mirroring — 5 GHz preferred in crowded networks.
Common adjustment issues
If keystone cycles endlessly, power-cycle the unit and reduce the tilt angle. Persistent trapezoids often mean the projector is too far off-axis — move it closer to center. Blurry corners after correction indicate extreme angle; reposition instead of forcing more digital correction.
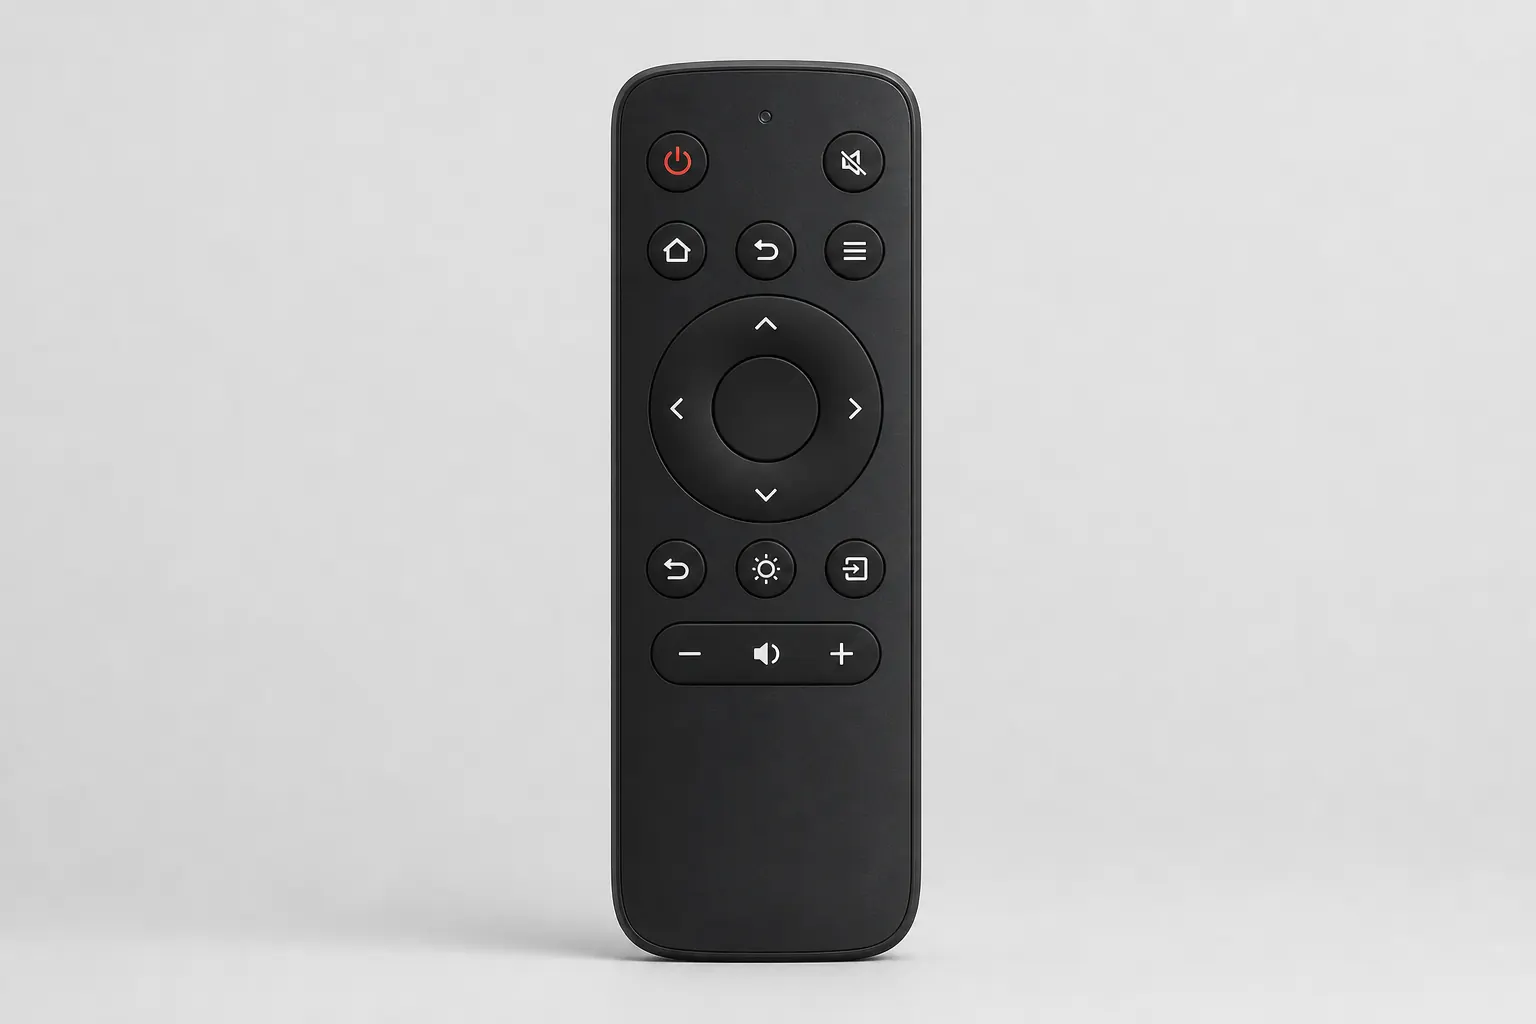
Remote not responding during adjustment? Replace batteries or use the companion app. USB mouse plugged into USB-A navigates Android menus when the remote lags. Fan noise increases during keystone recalculation — normal and brief.
Room and surface tips
White walls reflect best. Grey walls reduce brightness but improve contrast perception. Textured popcorn ceilings scatter light — smooth ceilings work better. At 80–100 inches, a flat surface matters more than on smaller throws.
Dim ambient light before judging keystone and color. A lamp behind the projector washes the bottom edge. Blackout curtains transform perceived sharpness more than any software tweak. For outdoor dusk use, a portable white screen gives auto keystone a consistent target.
Pros and limitations
Pros: Auto keystone handles real-world placement. Manual focus is tactile and reliable. The 180° stand removes tripod dependency. Android settings add fine-tuning without a PC.
Limitations: Digital keystone softens edges at extreme angles. No optical zoom — you move the unit to resize. No auto-focus motor — the wheel is manual only. Ceiling mode availability varies by firmware batch.
Recommended calibration order
Follow this sequence for consistent results: position the stand, power on, wait for auto keystone, roll manual focus, fine-tune keystone manually if needed, adjust Android picture presets, then pair Bluetooth audio. Re-run focus if you change throw distance.
Save aggressive settings for special cases — sports in a brighter room may need boosted brightness at the cost of color accuracy. Return to defaults for film watching. Explore full hardware details on our specifications page and keep firmware current via the update guide.